22 Post-Harvest Maintenance Tips

Post-Harvest Maintenance Tips
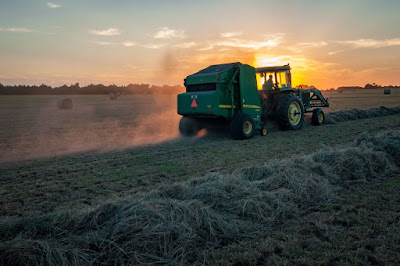
The goal of post-harvest maintenance is to prepare equipment for the next use, whether that is next month, next spring or next fall. Without a proper inspection after fall use, farmers will likely have to spend more time and resources fixing equipment later – time that could be spent in the field.1. Clean tractor exterior and interior. Start with an air compressor to blow away dirt and crop debris inside and out. This helps remove unwanted seeds that can transfer to other fields where they don’t belong. Also, debris attracts rodents that can damage electrical components. Follow up with a pressure wash to remove stubborn dirt and grime. Then, wax to restore paint shine and provide protection from UV rays and chemical residues.
2. Touch up scratches and bare spots with tractor paint.
3. Clean the radiator, condensers, and coolers with compressed air and water. Always blow the opposite direction of air travel to remove dirt and debris. An 1/8” of grime can act like 2” of insulation when it comes to keeping cast iron parts cool.
4. Take care of the interior. Increase comfort and reduce fatigue by replacing or repairing worn seats. Also repair or replace damaged upholstery panels in the cab to insulate and reduce noise. .
5. Check weather stripping around doors and windows to ensure a snug fit. These help improve climate control, and help prevent dust and chemical vapors from entering the cab.
6. Changing oil and filters prior to storage will prepare equipment for the next season.
7. Lubricate all grease fittings and exposed metal surfaces that slide in and out of seals to prevent rust and corrosion.
8. Remove twine or plastic wrap from wheels.
9. Check cooling system protection level for your climate, replacing coolant if needed. Also, to protect against corrosion, check supplemental coolant additive (SCA) level and add if necessary for your model.
10. Fill the fuel tanks to prevent condensation from warming and cooling temperatures. In cold weather environments, use winter blend fuels or add a winter fuel conditioner that provides anti-gel protection.
11. Check all lights. LED Lights provide higher visibility and they last longer than conventional bulbs.
12. Tighten all belts as needed and inspect for cracks. Replace belts as needed with quality QPP belts.
13. Check feeder house chains and elevator chains for proper tightness and wear. Chains should be replaced every other year.
14. Check all bearings for signs of fatigue.
15. Check the feeder house floor for wear. It may need to be replaced or rebuilt.
16. Check the concave for excess wear.
17. Inspect the cylinder bars for straightness and wear.
18. Check the conveyor auger bearings for wear and dryness.
19. Check fountain and unloading augers for wear.
20. Check straw walkers and straw walker bearings for cracks and general wear, or check the rotors. Look for excess wear and check the alignment and bearings.
21. Check the total condition of the straw chopper (hammers, knives, shell, rotor). Is the chopper properly balanced or does it shake excessively?
22. Weld any and all cracks.


Comments